Apparently, you’re having a problem with the pilot light on the propane heater and you’re getting confused. Don’t worry about it. This guide below will surely help you to get the best results. Without any delay, let’s get started.
Things that you will need
Although there are different procedures that you can follow, keeping a few sets of handy tools is always necessary for you. It is important to keep the proper tools in hand when you need them the most.
- Always keep a screwdriver set in your hand.
- Having pliers could help you to pick out small objects that are stuck in the heater.
- If you wish to clean some parts of the heater, having a detergent packet is all that you need.
- You need to have access to water. This is why keeping a water connection with a water hose is important.
- Try to opt for soap water. This will help you to clean the heater easily.
- You can choose a scrubbing sponge. It is soft but does the work effectively.
- To dry the wet area, choosing a microfiber cloth will be helpful. It will not affect the remaining areas as well.
Best Ways to Troubleshoot
Method 1: Modifying the Setup
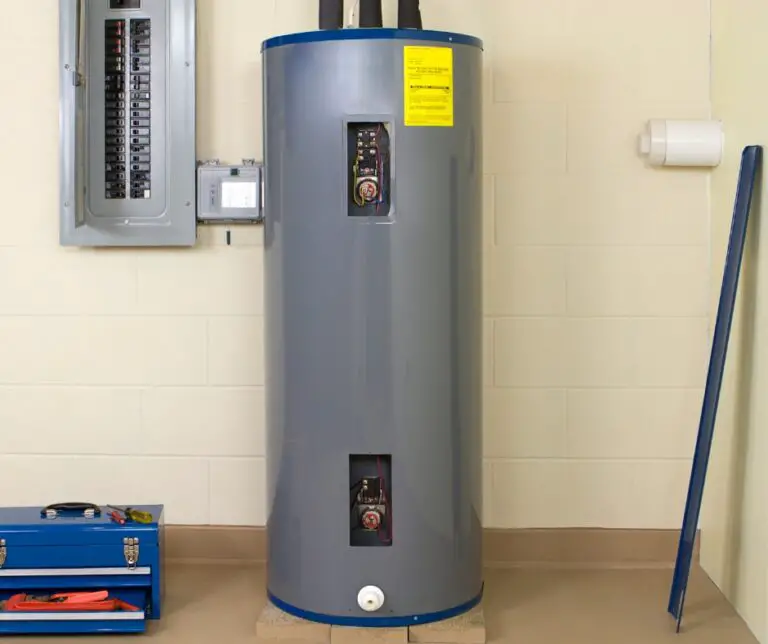
The reason why you are facing such issues is mainly because of the placement. It’s now time to relocate the propane heater to a new place just because it won’t be able to work under the open. However, relocating the heater will bring in changes to the climatic conditions.
If you feel the need of changing the place, you can do this easily by moving it inside a canopy or a sunshade. This will prevent the heater from overheating.
To protect the heater from wind, you can easily take the help of a wind barrier that will block any access. If the wind speed is over 40 kmph, you must consider placing the heater inside a garage or a closed area to keep this safe.
- Propane Heater in Garage With Door Open
- Mr Heater Portable Buddy Pilot Won’t Light
- What Kind Of Pans Are Used On A Propane Stove?
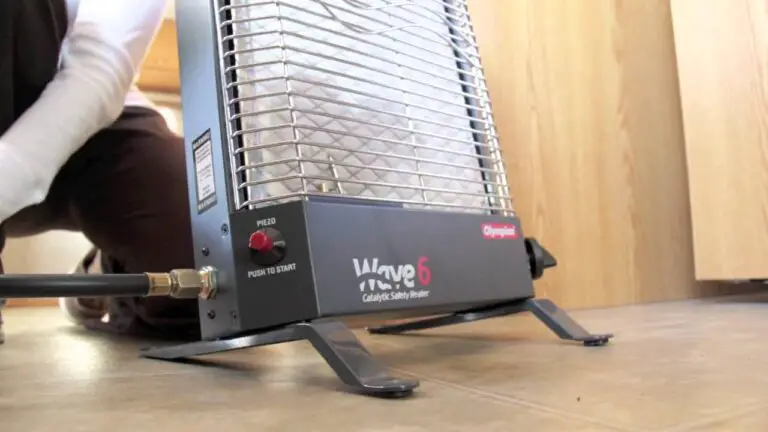
Method 2: Pilot Cleaning
Another possible reason for this type of problem could be just because of the formation of debris inside the heater.
In case of contamination present on water, it turns out hard. As a result, the levels of pilot sediment buildup become more in such areas.
It’s important to keep the entire unit clean and to maintain the interior specifications of this propane heater. Here are some steps that you can easily follow to clean the pilot.
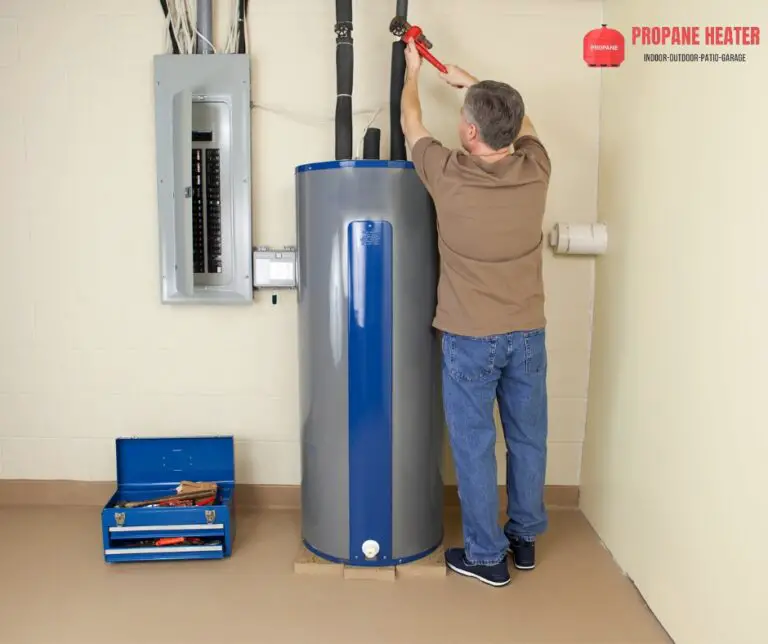
Step 1:
To start the procedure, you need to turn off the patio heater gas. Make sure that you plug out the power cable before use.
Step 2:
The next step is to prepare the heater for cleaning. If you can reach out to the heater it’s ok. But if you cannot, simply bring down the heater to a comfortable place. Lift is from the bottom and places it on the floor safely.
Step 3:
To clean the interior, you need to take the help of a sponge and soak it in the detergent water. Now, gently tap on the top of the heater and wipe slowly which will help you to get fast results.
Step 4:
Once the cleaning is done, it’s important to keep the heater completely dried up. Pat it back with a microfiber towel to clean the webs and the debris that is formed. Make sure that every part of this heater is completely clean and safe to use.
Method 3: Thermocouple Cleaning
If cleaning the heater does not work, the main problem lies within the thermocouple itself. To be fair, every thermocouple should work for at least 4 to 5 years on the trot. Still if you are facing any problems with the pilot light and the heater is even not that much old, you can try out the steps mentioned below to clean this.
Step 1:
Prepare yourself with gloves on your hand and power off the heater completely. Make sure that you are working on a dry area to clean up the thermocouple.
Step 2:
The next thing that you need to do is to keep the area for work free. To do this, you need to first locate the position of the thermocouple. Now you can remove the screws attached to it and clean up the space.
Step 3:
Now the thermocouple is completely free to work with. You can pull out the thermocouple and then rinse it with a water hose. Make sure that you place the thermocouple on a safe and secure place to allow you to get easy access.
Step 4:
Before placing the thermocouple back to the original position it is important to keep it in a dry ambience. Do now force any air blower to dry the thermocouple. You can simply leave it out under the sun to dry the heater.
Step 5:
Once it is dry, you can reconnect the thermocouple back to the original position. Remember to screw back the thermostat so that it sits up right. Surely the pilot light should turn on now.
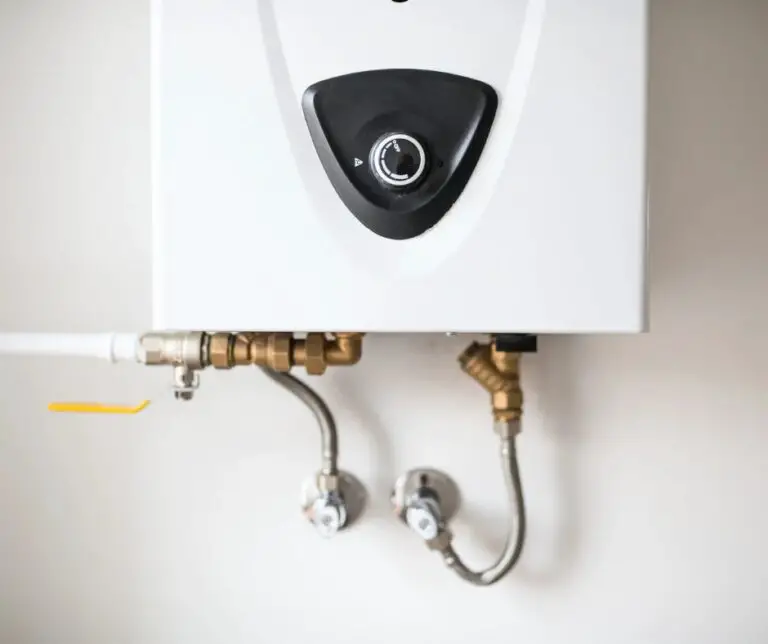
Method 4: Patio Heater Orifice Cleaning
So you could even not be thinking about this part, but the orifice of your heater could be more vulnerable to such problems. It is completely free for your regular use that allows you to get fast and easy to get good access to your heater. You can simply cope up with the steps mentioned below.
- Start by turning off the power. Plug out the adapter to remove any type of power source and then you can separate the parts.
- Take out the knob and check for the panel behind this knob. Here, you will find the pilot knob cover. Find out the screw and you can easily remove this.
- Pull out the gas knob present here and clean it properly with the microfiber present here. Remember to place back the spare parts to the original position before turning on the heater again.

I am Richard A. Jackson man behind propane heating solution, An HVAC expert working as a team lead of the heating department, Provide services all over the USA (around all major cities), and from planning to implementation, you will get all your solution here. We provide various tanks (propane and other natural gases) and deal with disposable waste.